Signs of a Faulty Delta Bathroom Faucet Valve: Delta Bathroom Faucet Valve Replacement
A malfunctioning Delta bathroom faucet valve can be a frustrating experience, disrupting your daily routine and potentially leading to water damage. Understanding the common signs of a faulty valve can help you identify the problem early and address it before it worsens.
Common Symptoms of a Faulty Valve
Recognizing the signs of a faulty Delta bathroom faucet valve is crucial for timely intervention. These symptoms indicate a potential issue with the valve’s internal components and require immediate attention.
- Leaking Faucet: A constant drip or a steady stream of water from the spout, even when the faucet is turned off, is a clear sign of a faulty valve. This leakage can be caused by worn-out O-rings, a damaged valve seat, or a broken cartridge.
- Difficulty Turning Faucet On or Off: If you experience resistance or struggle to turn the faucet handle, it could indicate a problem with the valve stem or the cartridge. This could be due to mineral buildup, corrosion, or a worn-out cartridge.
- Water Pressure Issues: Low water pressure or inconsistent water flow can be a symptom of a partially blocked valve. This blockage can occur due to mineral deposits, debris, or a faulty cartridge.
- Noisy Faucet: Unusual noises like rattling, hissing, or grinding while using the faucet can point towards a faulty valve. These noises might be caused by loose parts, worn-out components, or a buildup of sediment.
Tools and Materials for Valve Replacement

Before you embark on this plumbing odyssey, it’s crucial to gather the necessary tools and materials. Having these items readily available will streamline the process and ensure a successful outcome.
Tools and Materials
This section details the tools and materials needed for a Delta bathroom faucet valve replacement.
- Adjustable Wrench: This versatile tool is essential for tightening and loosening nuts and fittings, including the faucet valve itself. A good adjustable wrench allows for a secure grip on various sizes of nuts and fittings.
- Channel-Lock Pliers: These pliers, with their parallel jaws, provide a strong grip for holding and turning pipes and fittings, especially in tight spaces.
- Slip-Joint Pliers: These pliers are invaluable for gripping and turning nuts and fittings that are difficult to access with a wrench.
- Plumber’s Tape: This thread sealant tape is essential for sealing the threads of pipes and fittings, preventing leaks. It creates a watertight seal, ensuring a smooth and leak-free plumbing system.
- Tubing Cutter: This tool is used for precisely cutting copper or plastic pipes to the desired length. A tubing cutter ensures clean, straight cuts, minimizing the risk of leaks.
- Safety Glasses: Protect your eyes from flying debris and potential splashes during the replacement process. Always wear safety glasses for any plumbing project.
- Gloves: Protect your hands from potential cuts, scratches, and exposure to harsh chemicals. Gloves are a must-have for any plumbing work.
- New Delta Bathroom Faucet Valve: This is the heart of the replacement process. Ensure you purchase a compatible valve specifically designed for your Delta bathroom faucet.
- Replacement O-Rings and Washers: These small but essential components seal the valve and prevent leaks. Always replace worn-out or damaged O-rings and washers.
Step-by-Step Guide to Replacing a Delta Bathroom Faucet Valve
Prepare yourself for a plumbing adventure! Replacing a Delta bathroom faucet valve is a task that can be tackled by a determined homeowner with a little patience and the right tools. This guide will walk you through the process, ensuring a smooth and successful replacement.
Shutting Off the Water Supply
Before you begin, it’s crucial to turn off the water supply to the faucet. This prevents a flood and ensures a safe working environment.
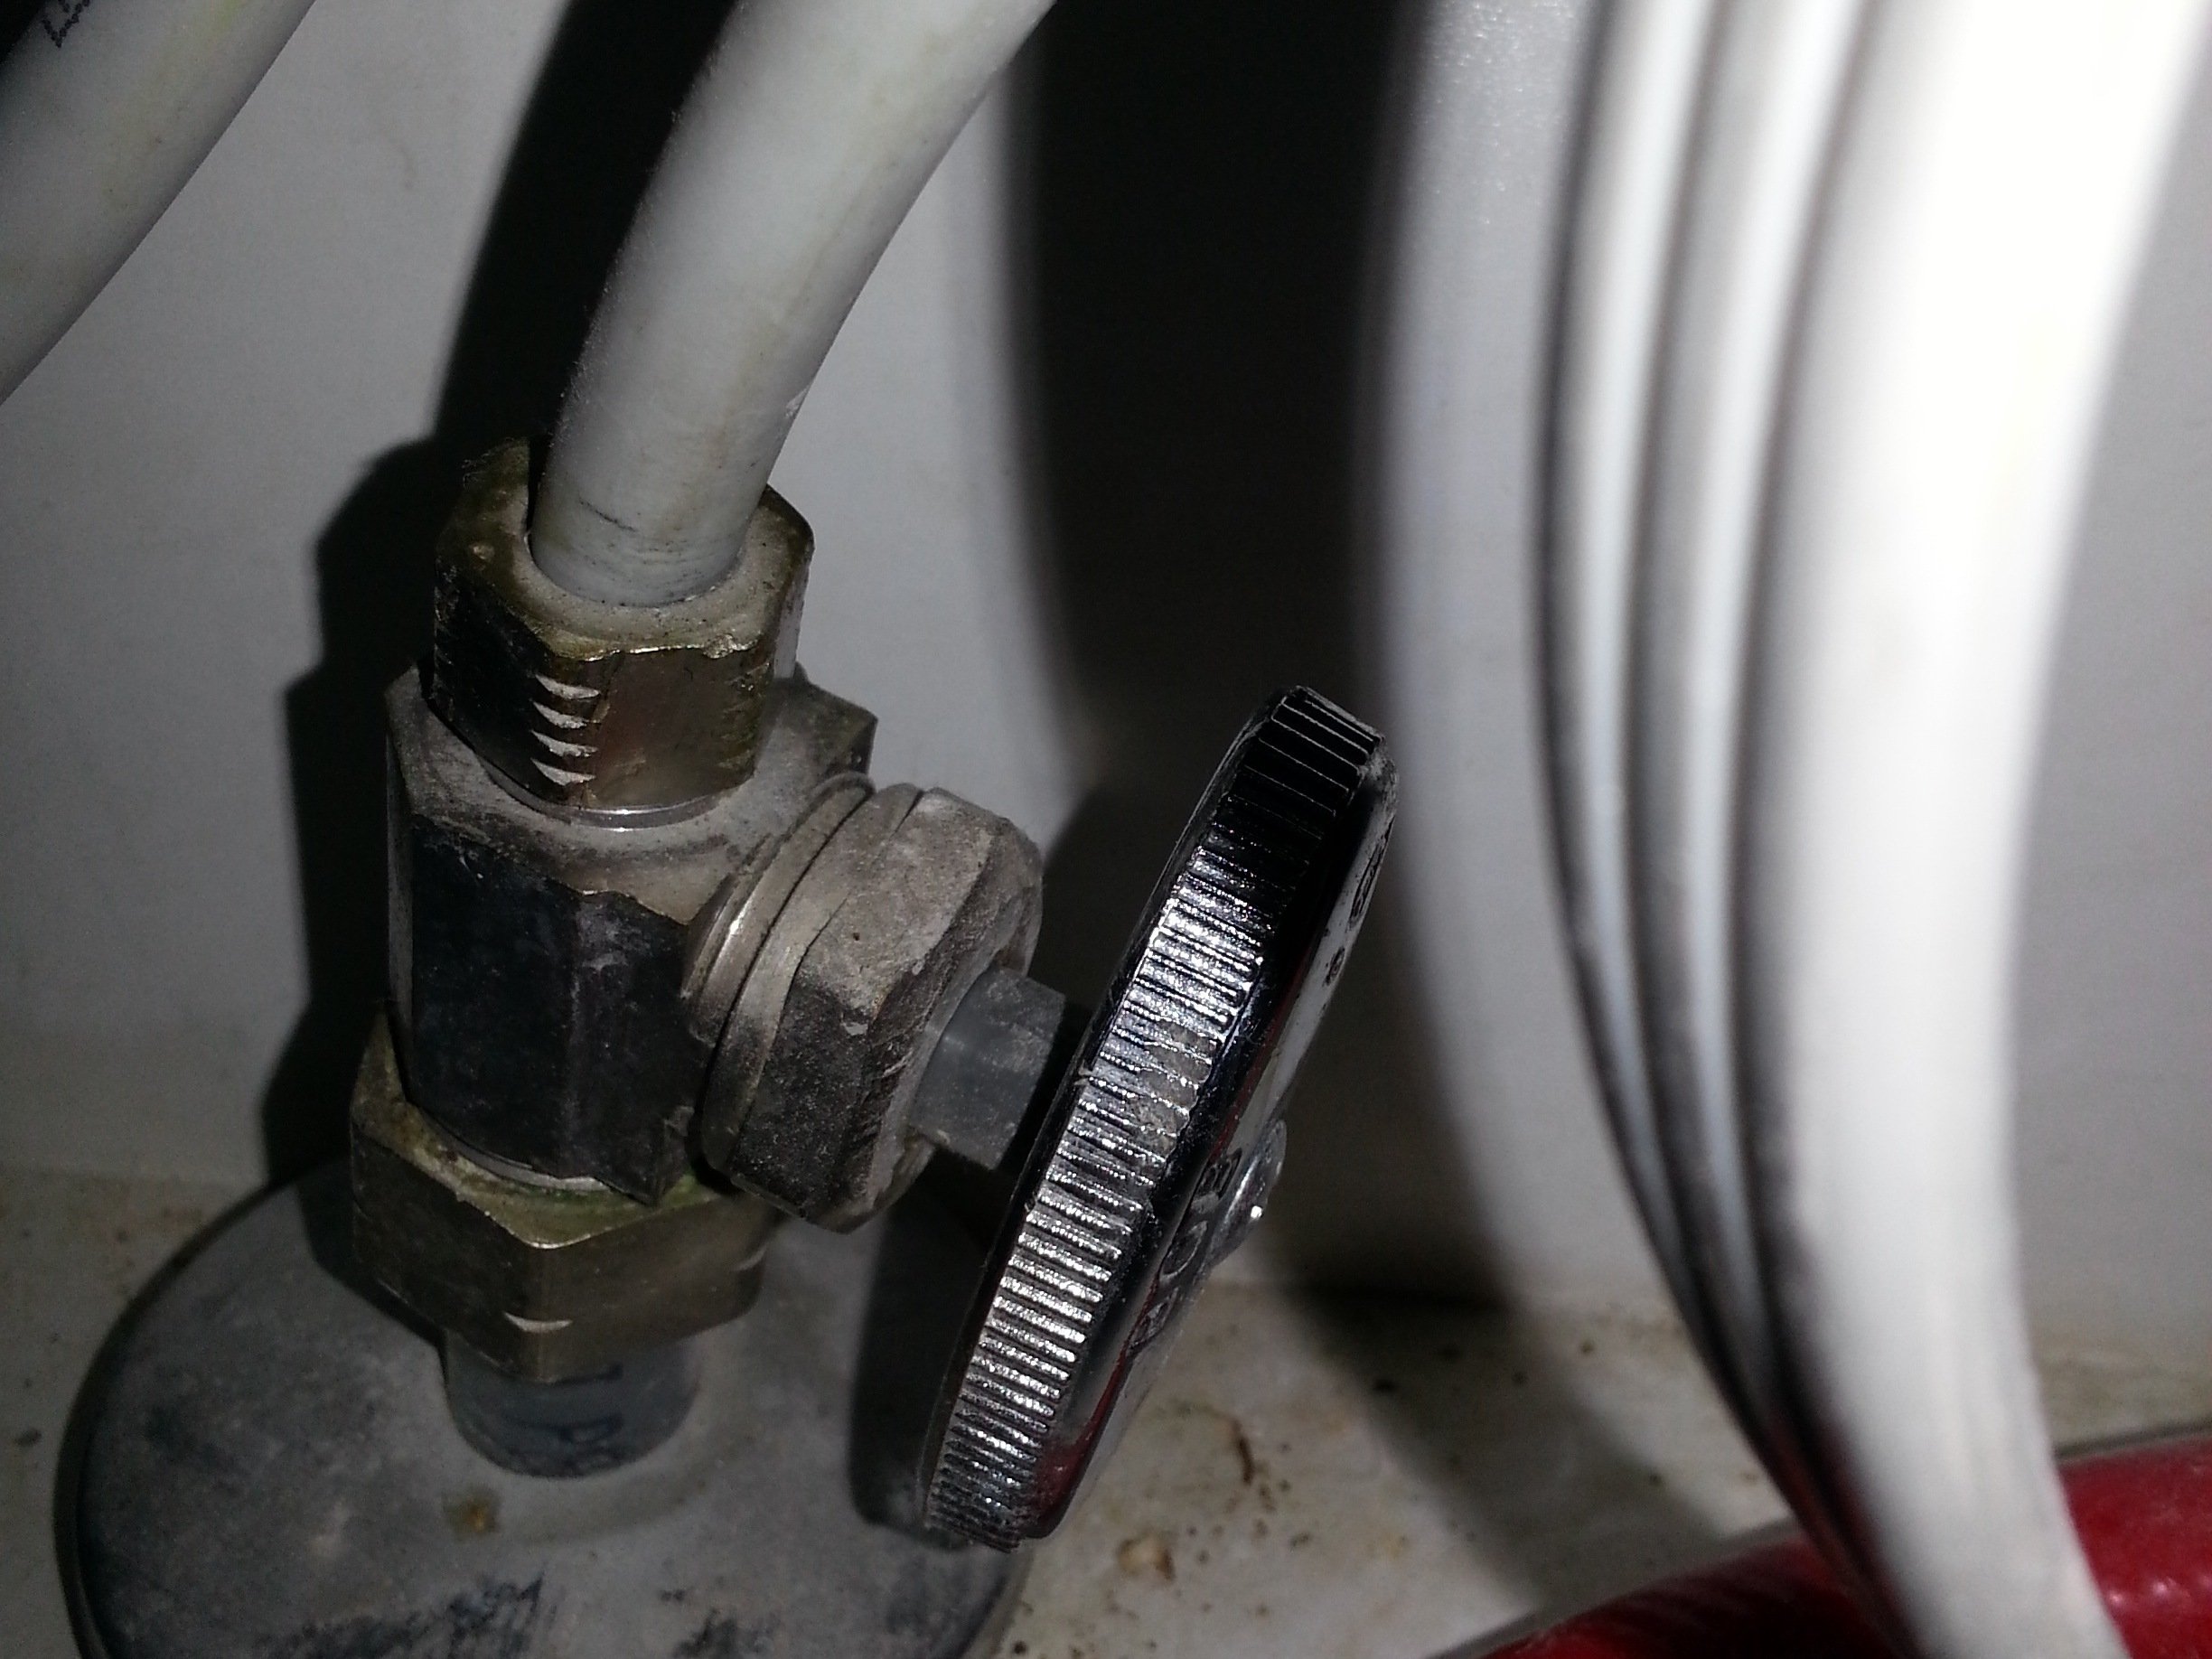
- Locate the shut-off valve for the bathroom sink. It’s usually found beneath the sink or on the wall nearby.
- Turn the valve clockwise to shut off the water flow.
- To confirm the water is off, turn on the faucet. If no water comes out, you’re good to go.
Removing the Old Faucet Valve
Now, it’s time to remove the old valve.
- Use a wrench to loosen the nut holding the valve in place. It’s typically located at the base of the valve stem.
- Once the nut is loose, carefully pull the valve stem out of the faucet body.
- Remove any remaining debris or washers from the valve stem and the faucet body.
Installing the New Faucet Valve
With the old valve removed, you’re ready to install the new one.
- Align the new valve stem with the faucet body, ensuring it’s properly seated.
- Tighten the nut at the base of the valve stem using a wrench. Do not overtighten, as this could damage the valve.
- Once the nut is secure, reinstall any washers or other components that came with the new valve.
Testing the New Faucet Valve
You’re almost there! Now, it’s time to test your handiwork.
- Turn the water supply back on slowly, checking for leaks at the valve and faucet body.
- If there are no leaks, turn on the faucet and test the water flow. It should be smooth and consistent.
- If you encounter any leaks, tighten the nut at the base of the valve stem slightly and re-test.
Cleaning Up, Delta bathroom faucet valve replacement
After a successful installation, clean up the area, disposing of any debris or packaging materials.

